Desktop CNC Machine: Completing My Longest Running Unfinished Project
introduction
I'm finally going to finish a project that has sat in my office, unfinished, since 2011: my desktop CNC machine. A CNC machine is a tool that can automatically cut a design out of material like wood or metal. The design begins on a computer and is converted into machine instructions called gcode. The CNC machine will read the gcode one line at a time and remove material until the design has been completely cut out of the material.
A CNC machine is made up of several parts. The part that actually does the cutting is called an end mill. An end mill is similar to a drill bit. The difference is that after an end mill has been plunged into the stock material, it can be moved around side to side and it will still cut material away. The end mill is inserted into the spindle motor which rotates it at a controlled speed. This subassembly which I’ll refer to as “the cutting tool” is attached to a mechanical frame. The frame is built with gantries that allow the cutting tool to move in the X, Y, and Z axes. That movement is achieved by attaching stepper motors to belts, pulleys, and lead screws. Stepper motors are ideal for this application because of their precision, but they require special electronic drivers that energize their coils in a specific sequence. In the past it was common to use a computer with a parallel port to talk to the stepper motor drivers, but nowadays microcontrollers with a UART connection are becoming more popular. For my CNC machine I'm using an Arduino compatible board running special firmware called GRBL. The gcode instructions are sent to the arduino by a computer, and the GRBL firmware interprets that gcode and sends the step pulses and direction signals to the stepper motor drivers. Lastly, most CNC machines have input switches that send feedback from the machine. For example my machine has limit switches that close when the machine reaches the end of its range. This prevents the machine from moving beyond its physical limits and causing damage. If you want to know more about my CNC machine, I've written a detailed project post about it on my website so feel free to check that out. A link will be provided in the description.
mechanical components
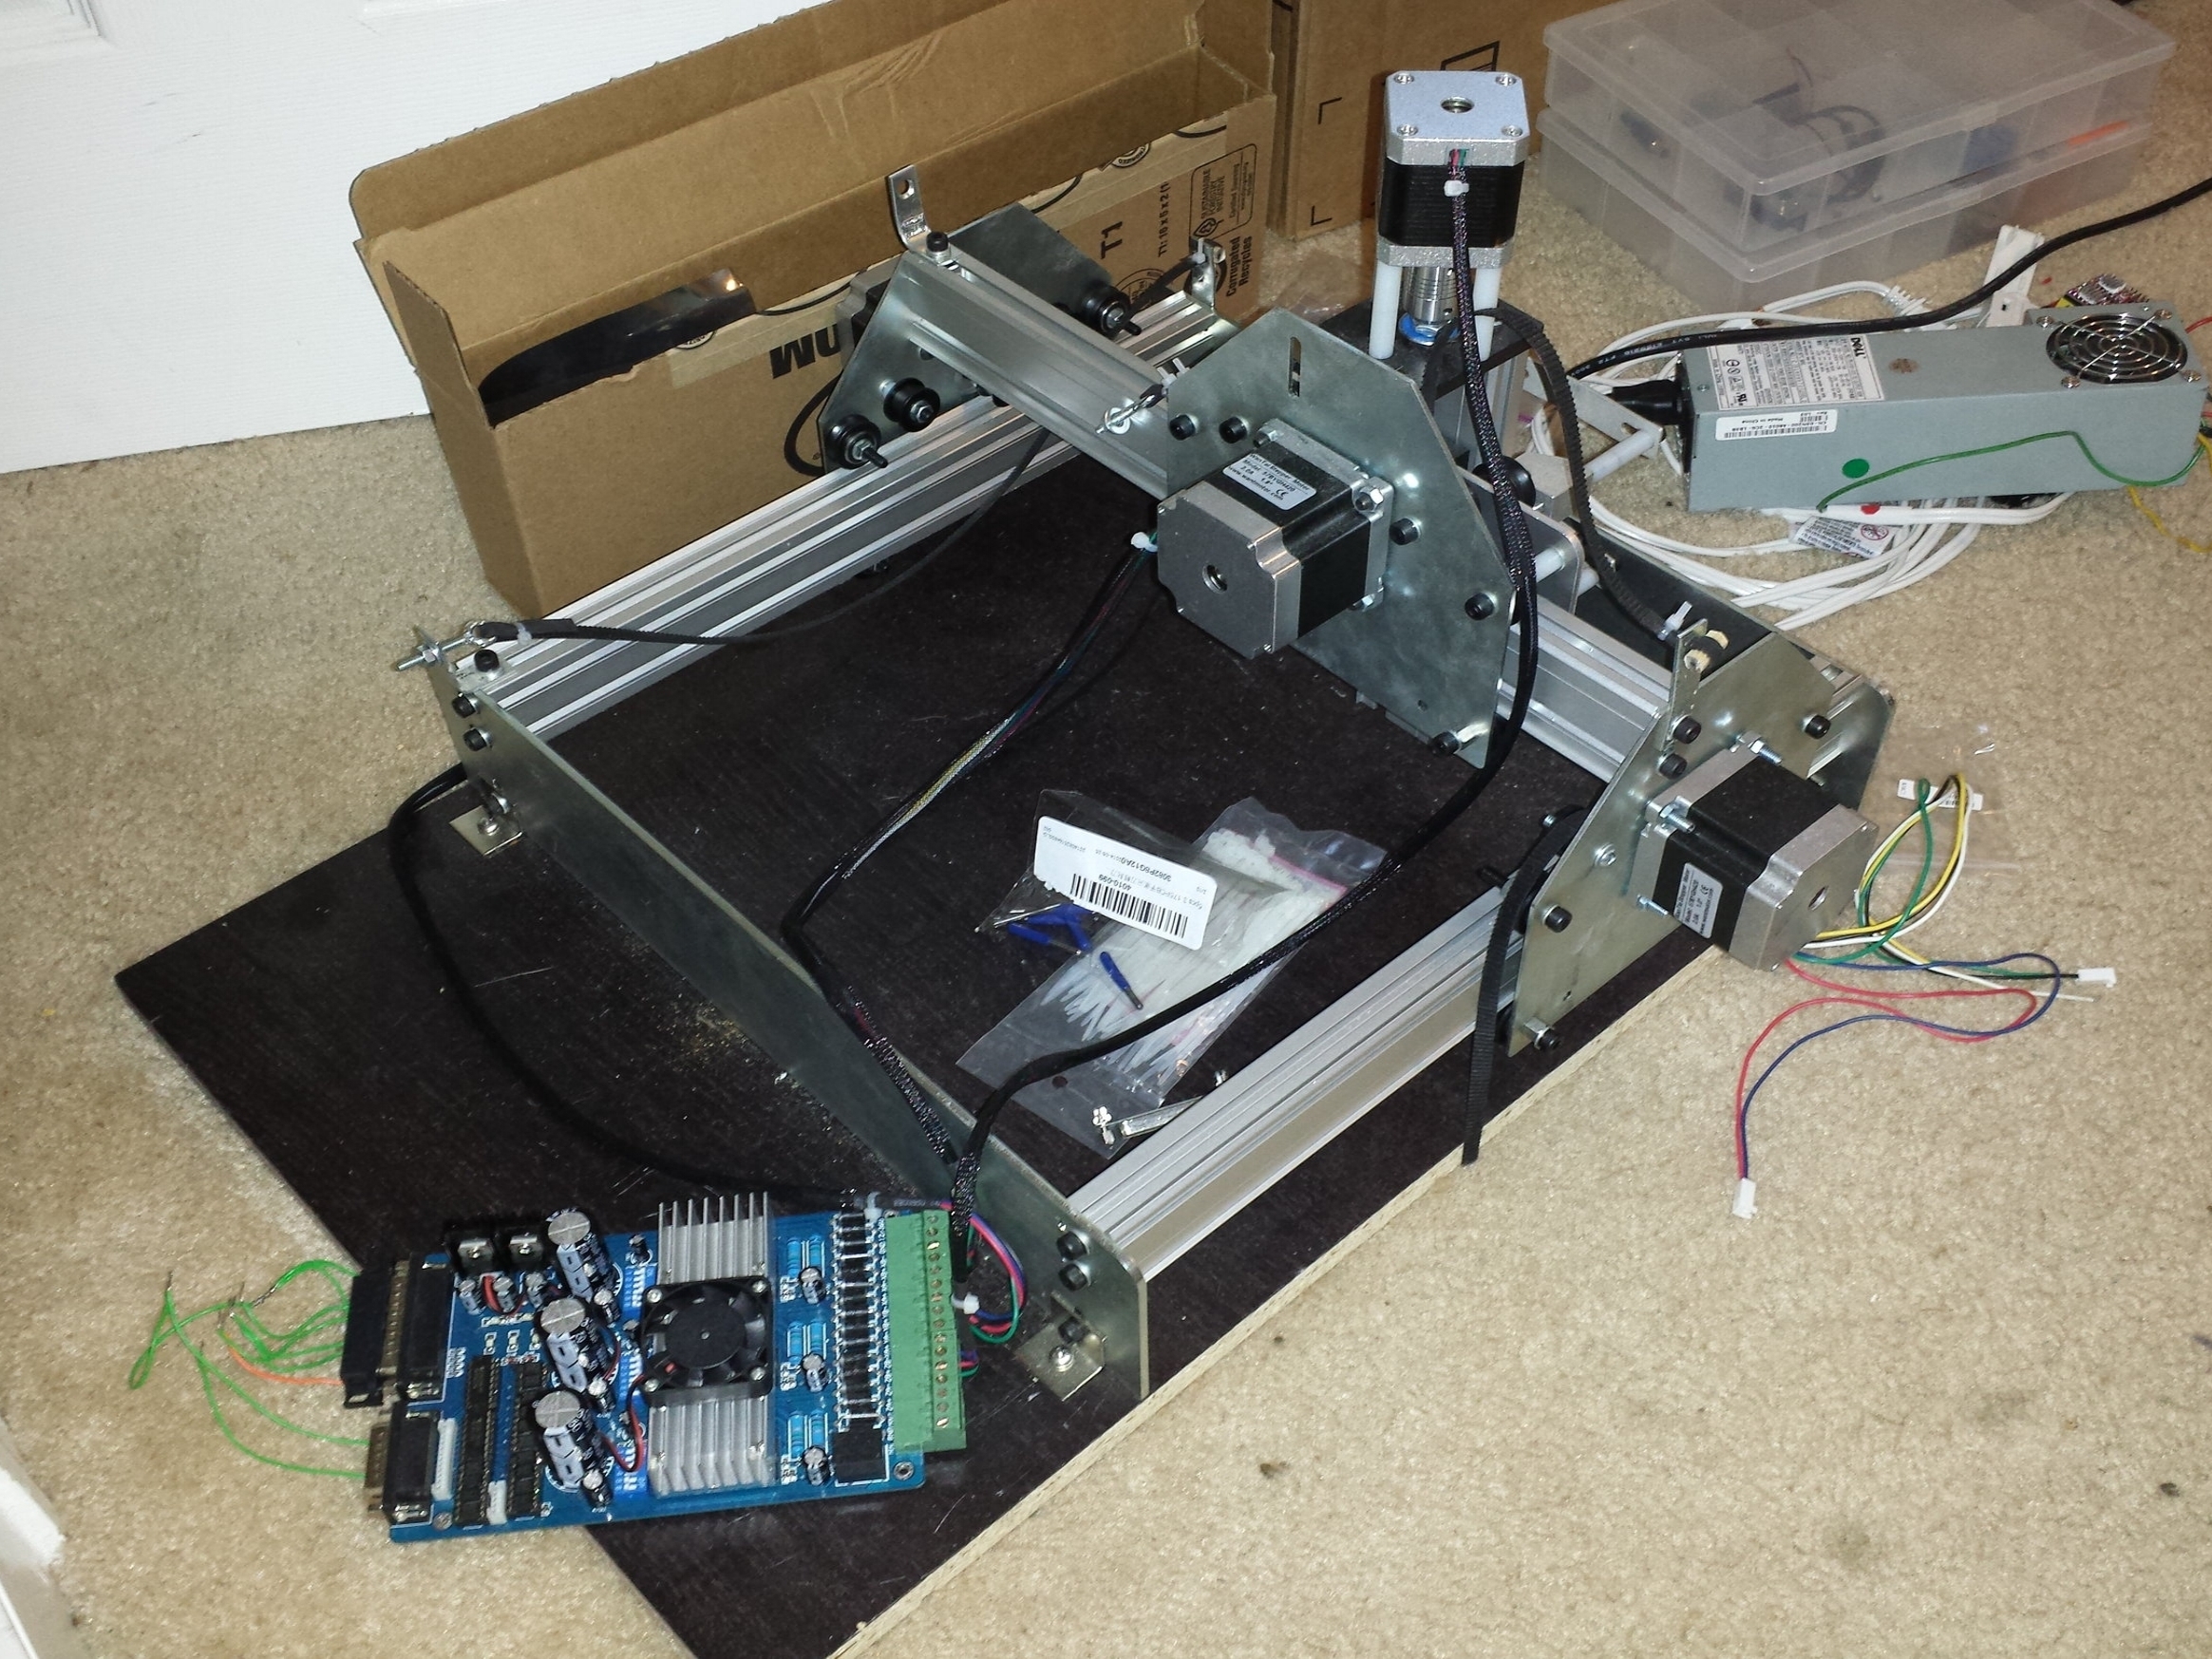
Mechanical frame - In 2013 I discovered a small project called Shapeoko. A guy named Edward Ford put together a kickstarter to fund an open source desktop CNC machine. The project was successful and was eventually picked up by Inventables. Since then the machine as matured and has evolved into the popular X carve. One of the cool things about the Shapeoko was that you were able to buy individual components of the full machine, so I bought just the mechanical frame. I bought some of these gears , idler pulleys, and belts from inventables. I probably could have sourced these from cheaper places, but oh well. I searched eBay for some drag chain to help with cable management. Finally I asked banggood.com to send me this 400W brushless DC spindle.
electrical components
Stepper motors
Stepper motor drivers
Arduino
Spindle driver
limit switches
z probe
abort, hold, resume switches
I started this project in 2011 by getting some NEMA23 stepper motors to play with. Stepper motors are different from common DC motors. You can't just connect a voltage source to them and get them to turn. I had to learn about energizing the different motor windings in sequence to get the stepper motors to move. I built my own stepper driver using logic chips and mosfets just for fun. Eventually I bought some TB6600 stepper motor drivers which work great. Around the same time I started using some firmware called GRBL firmware which runs on an Arduino to interpret gcode and send step and direction signals to the stepper motor drivers.
firmware
GRBL
software
Universal Gcode Sender
Easel
Fusion 360
MakerCam
FlatCam
A huge thanks goes to Dan Matthews for helping me with this project and answering lots of annoying questions.